Writing a letter to a friend, family member or even to someone you really admire is a fun way to connect. Now that I think of it, writing letters was a thing even before the telephone was created. It took weeks to receive a letter from someone that lived across town from you—much more for someone that lives across the country from you! Given the current situation with the pandemic, it’s even more important to connect with people, especially people you haven’t seen in a long time. It’s also a creative way to show admiration and appreciation for those that keep you safe and healthy. On this day of showing kindness, I hope you will join me in creating a postcard.
For this craft, you will need:
- Paper: It doesn’t matter what kind, shape, size or color you have.
- Something to writing with: You can use a crayon, pencil, pen, marker, gel pen or whatever you have to write with.
- Craft supplies: For this example, I am going to use watercolor paints, but you can use anything you have at home.
The first thing I did was cut my paper into a 5.8″ x 4.1″ size card. It’s kind of hard to do these measurements by hand, so a ruler is helpful. I did this odd measurement because it’s the universal standard around the world. The United States Postal Service sets the requirements between 5.0 x 3.5 inches and 6.0 x 4.25 inches. This means that whatever postcard you decide to send has to fall in this range. I am going to use this measurement to guide the creation of an envelope too.
A card size would also be a useful measurement for this project. The size of a typical card is around 4″ x 6″. It’s also important to note that if you want to send the postcard without an envelope, you will want to use something sturdier than regular copier paper. There’s such a thing as postcard paper, and some vendors even sell them pre-cut.
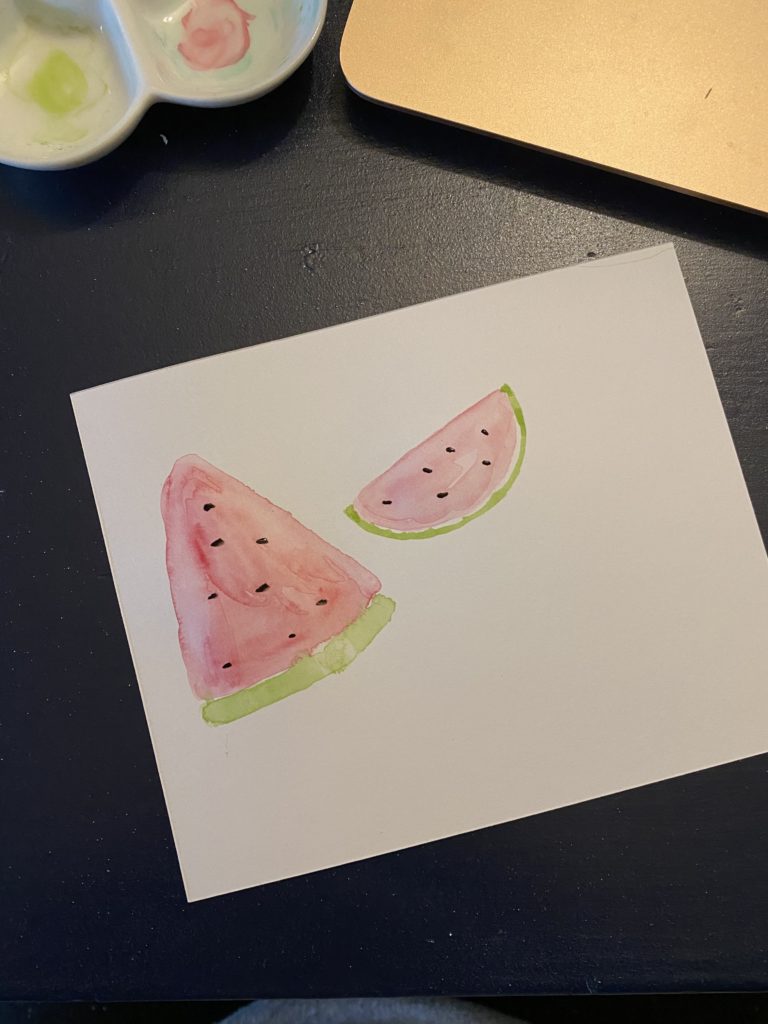
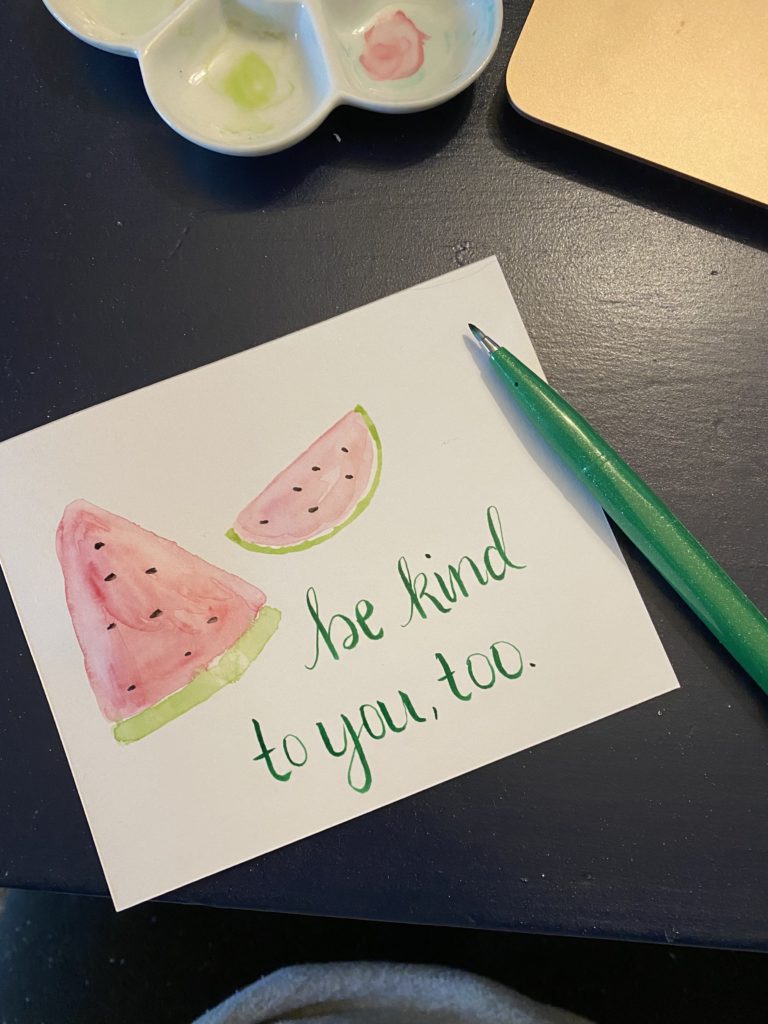
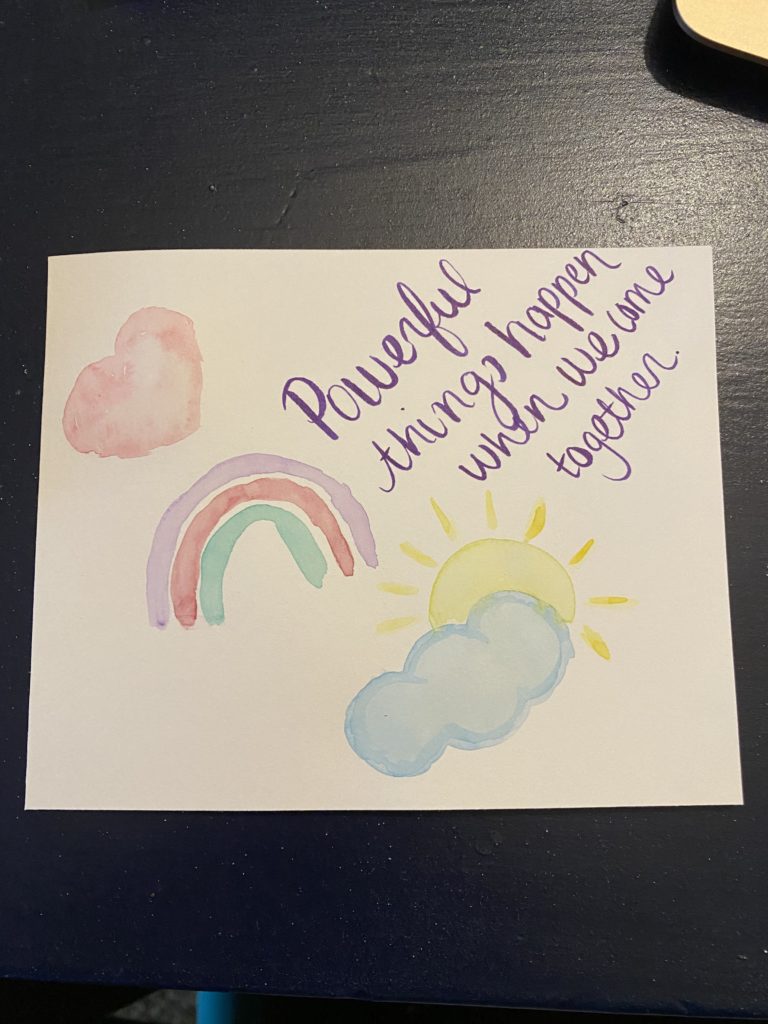
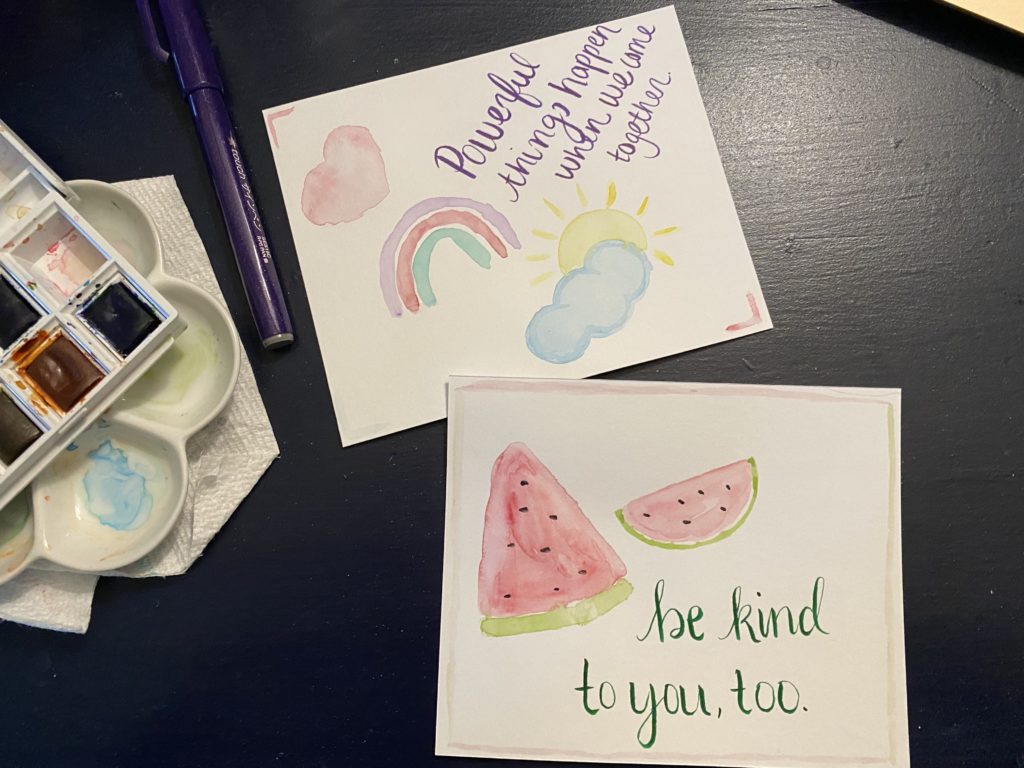
After I cut my paper, I started to think of ideas for my postcard. I wanted one side to have a design and a quote. I also wanted the back portion of the postcard to be blank for the message. I chose two quotes: “be kind to you, too,” and “powerful things happen when we come together.” I used watercolor for my example, but you can use anything you have available. I kept my message on the back relatively simple because the front mattered the most, since it was the most creative part of the postcard. You can draw whatever puts a smile on your face or your recipient’s favorite things! I know if I were to send the watermelon to my mom, she would really appreciate it because she loves watermelon!
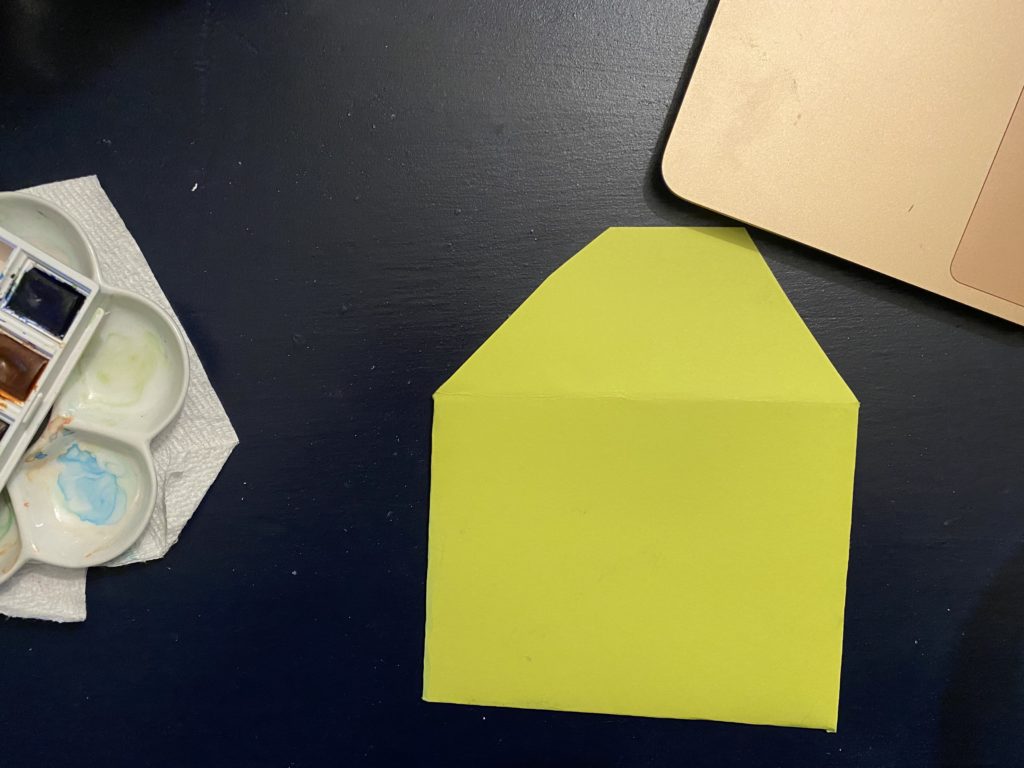
You’re probably wondering about an envelope for the postcard. There’s a variety of templates online that you use. I made the example below by tracing around the size of the postcard and cutting four triangles on each edge to close around it. I made it slightly bigger to ensure it would fit well.
If I were to mail the postcard, I would then add my name and address at the top left-hand side of the envelope, my recipient’s name and address in the middle and place a stamp on the right-hand corner of the envelope. Since I am sending this postcard digitally, there’s no need for this step.
Feel free to take this project where your creativity leads you! I am sure whoever receives your letter or postcard will be proud to display it! If you’re not sure where to send your postcard, you can create and send something to the wonderful staff at Lurie Children’s Hospital in Chicago. They receive digitally scanned items through this email address, and I am sure they would appreciate your thought and kindness: CMNH@luriechildrens.org.
