It’s almost that magical time of year again: rustling leaves, cooler nights and cozy sweaters… Celebrate by making your very own child-sized Pumpkin or Apple hat for a special little one with Studio 300’s Sentro knitting machine! Please don’t allow the word ‘knitting’ to intimidate you; the Sentro is perfect for those with zero knitting or crochet experience, and is a super fun (and amazingly fast) alternative for those who do!
Materials Needed:
- Sentro Knitting machine from Studio 300
- Pom Pom maker kit from Studio 300
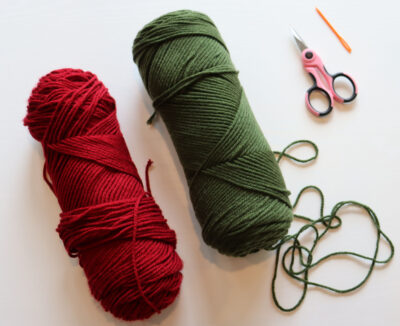
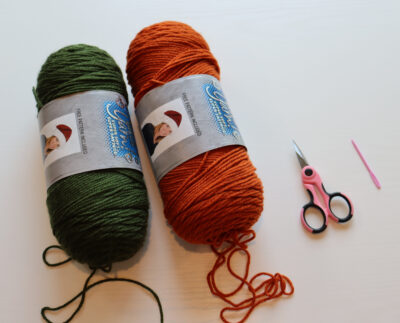
- Yarn (For this project, I used Hobby Lobby’s I Love This Yarn in the Cranberry, Dark Olive and Burnt Pumpkin colorways)
- Scissors
- Yarn needle (included in the Sentro accessory bag)
Getting Started
Begin by setting up the Sentro Knitting machine on a sturdy surface, such as a kitchen counter, table, or desk.
Tip: If you’re brand new to the Sentro knitting machine, this is a GREAT description of the Sentro by Katieree on YouTube. She gives a wonderful overview of its features, such as the row counter, turning handle, tension gauge, etc. We’ll be reviewing a few of her steps, so now would be a great time to pull up her video to follow along with.
Step 1
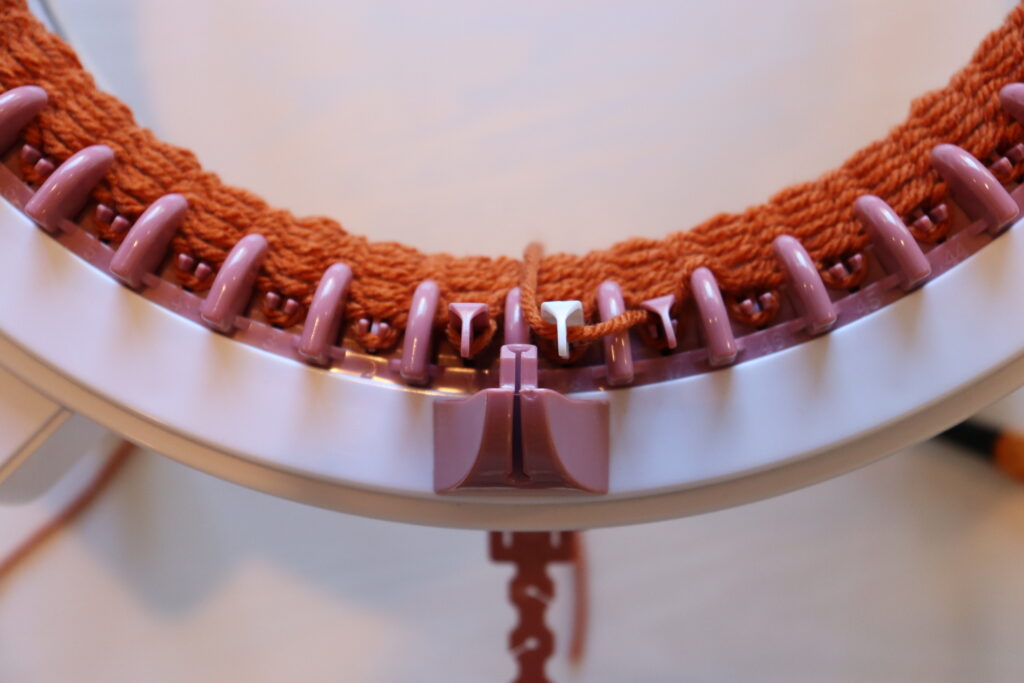
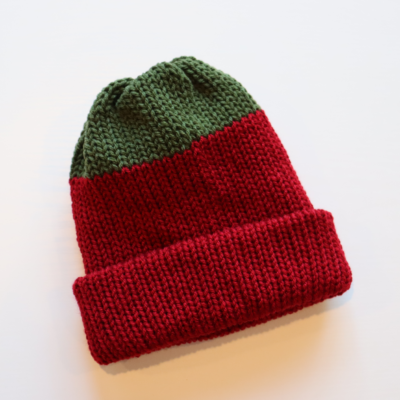
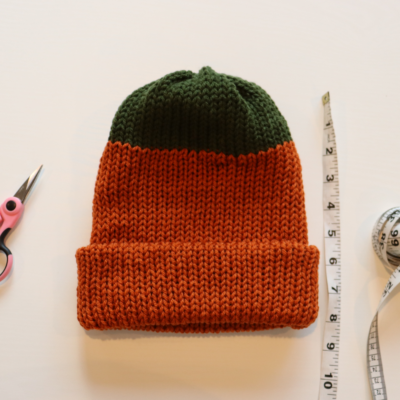
If you’re making the apple hat, grab the cranberry yarn, and if you’re making the pumpkin hat, you’ll need the burnt pumpkin yarn. This is your base color. Leave a long yarn ”tail,” and begin to cast onto the knitting machine by weaving the base color yarn in front of pin #1, then behind pin #2, etc. Continue this front/back weaving all around to pin #48. At Katieree’s 4-minute mark, she details exactly how to cast on.
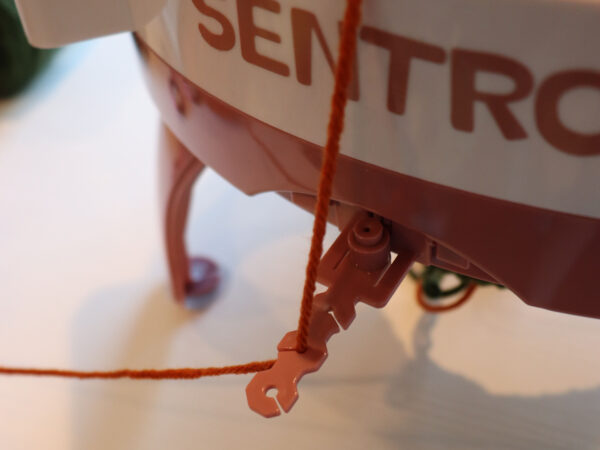
Note: Be sure your yarn is fastened into the middle tension indicator like this:
Step 2
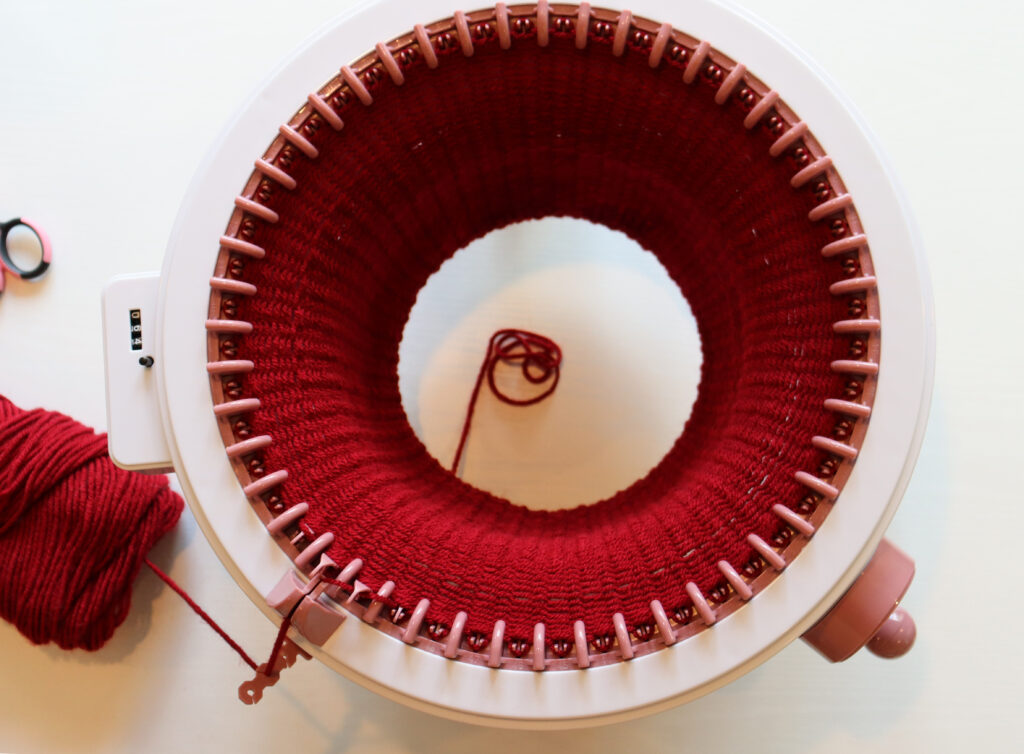
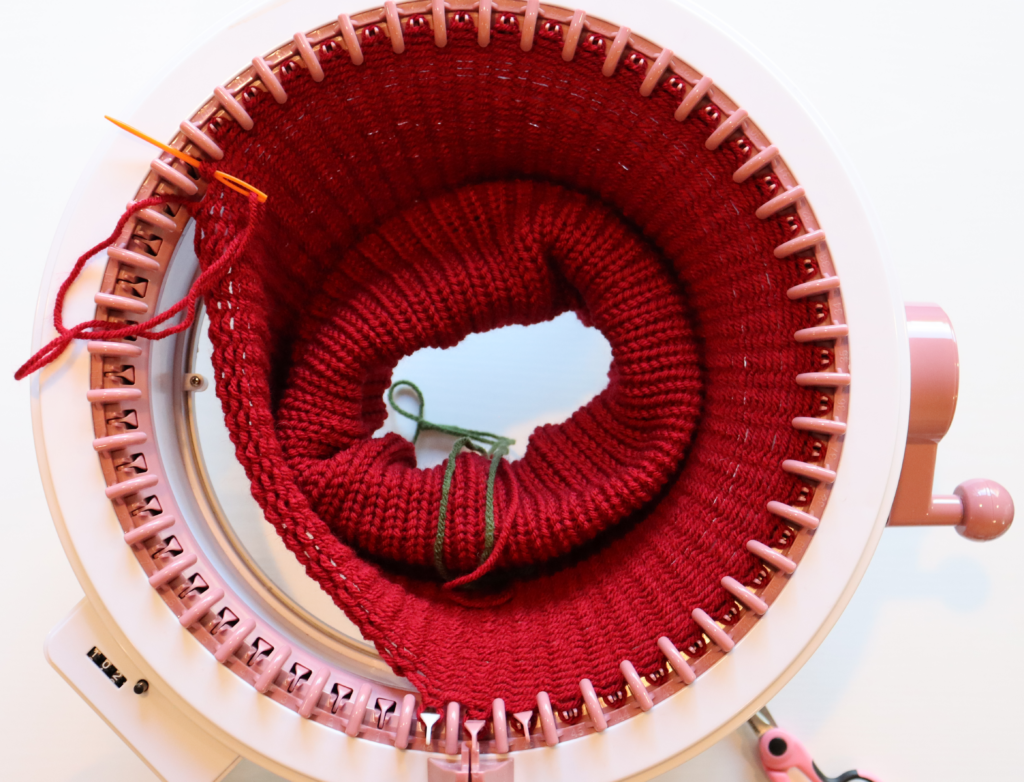
Once you’ve cast on, set the row counter to 000 and begin turning the handle. This is how my hat looked after a few rows:
Step 3
After about 48 and again at 84 rows, your hat tube/donut will almost touch the table and you’ll need to roll it up like this:
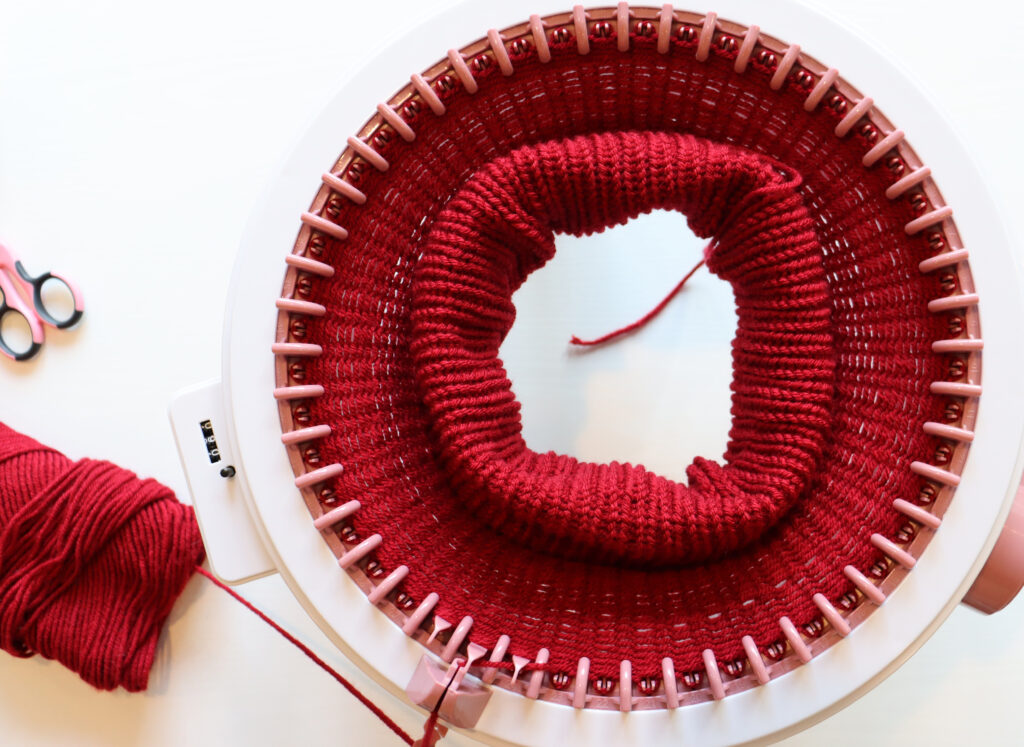
“Tube” rolled up
Step 4
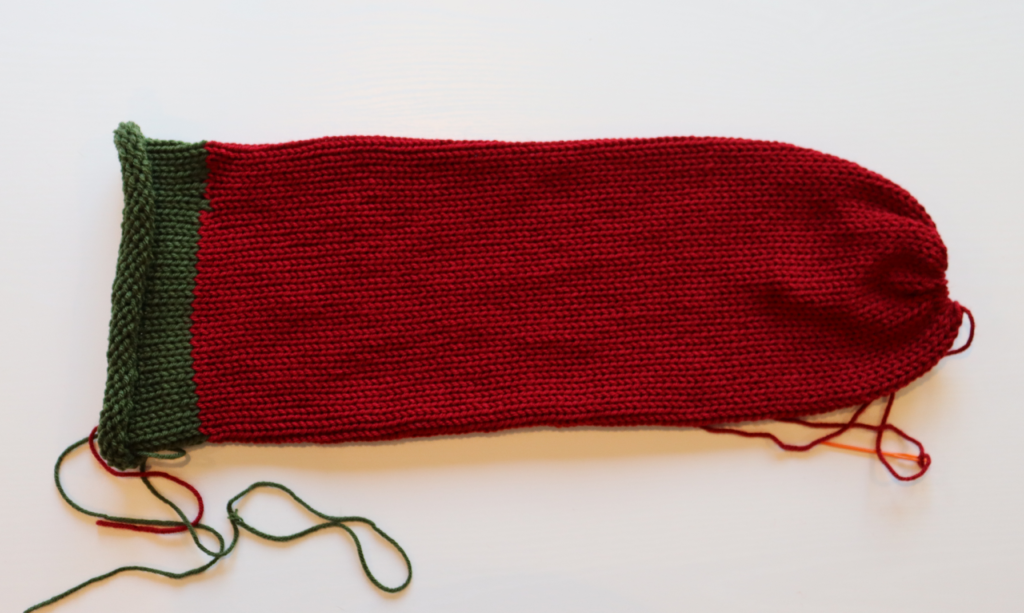
When you reach row 120, it’s time to change your yarn color. For my hat, I’m using a dark olive color next. Cut your base color yarn, leaving a six-inch tail. Then, unthread the tail and bring it to the middle of your tube like this:
Unattached base color resting in middle of tube/donut
Then, leaving another six-inch yarn tail, grab the green yarn and thread it through the middle tension arm, through the yarn holder and place it in the center of the tube next to the base color. Hold both ends of the yarn like this:
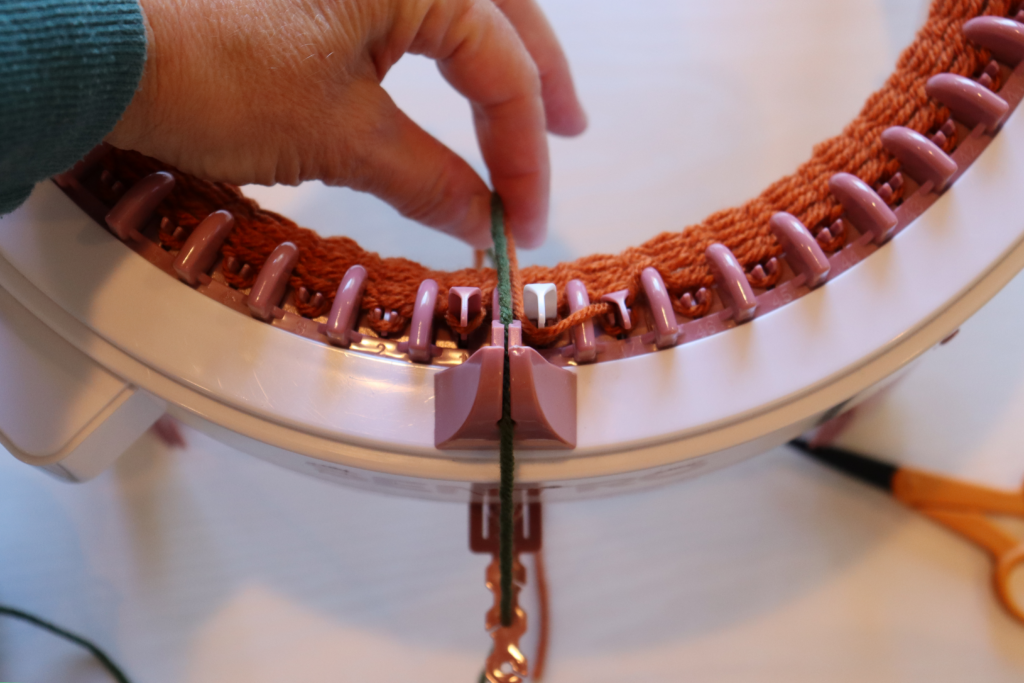
Threaded Dark Olive yarn attached and ready
Next, turn the handle three or four times to catch the new yarn. Now tie a knot with your two ends to secure it like this:
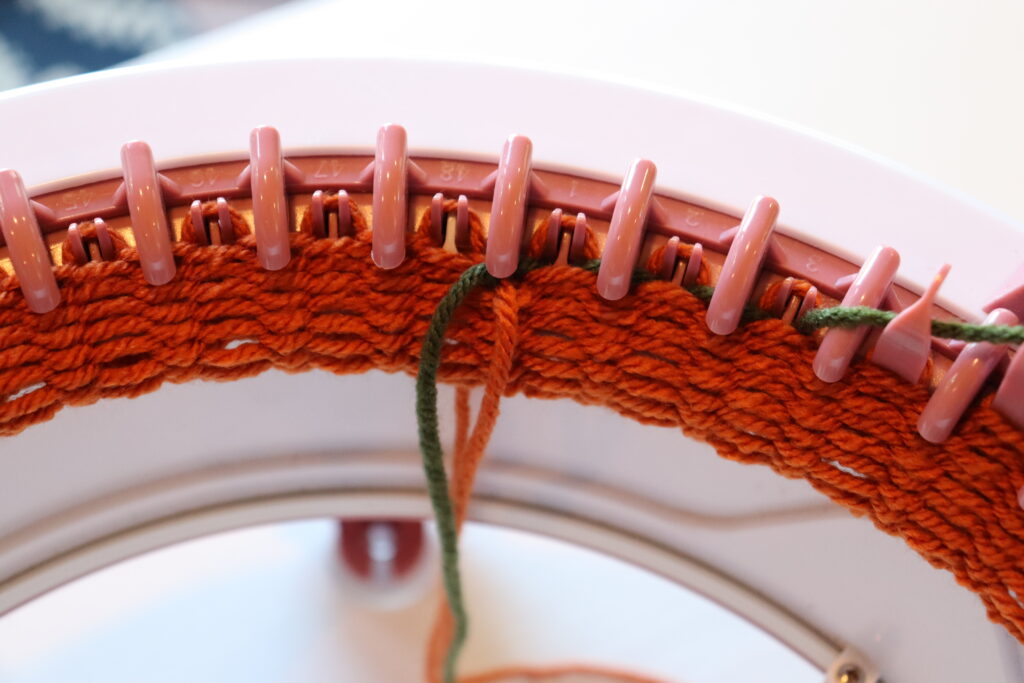
Both base color and Dark Olive green yarn ends tied together in knot
For visual learners, here is my favorite video detailing how to change yarn. Lastly, set the row counter to 0 and continue on for 18 rows.
Step 5
The last step is to cast off from the Sentro. I’ve found this is the trickiest step, so take your time and leave an extra-long yarn tail (equivalent to two times around the machine is a good measure). Please reference Katieree’s 10:50 mark as she explains how to cast off. This is how my tube looked after a few rows:
Step 6
Now that your piece is removed from the Sentro, it’s time to shape it into a hat! First, close the top of the hat by cinching it closed:
Reach into the tube, grab the cinched end and pull through to the open end:
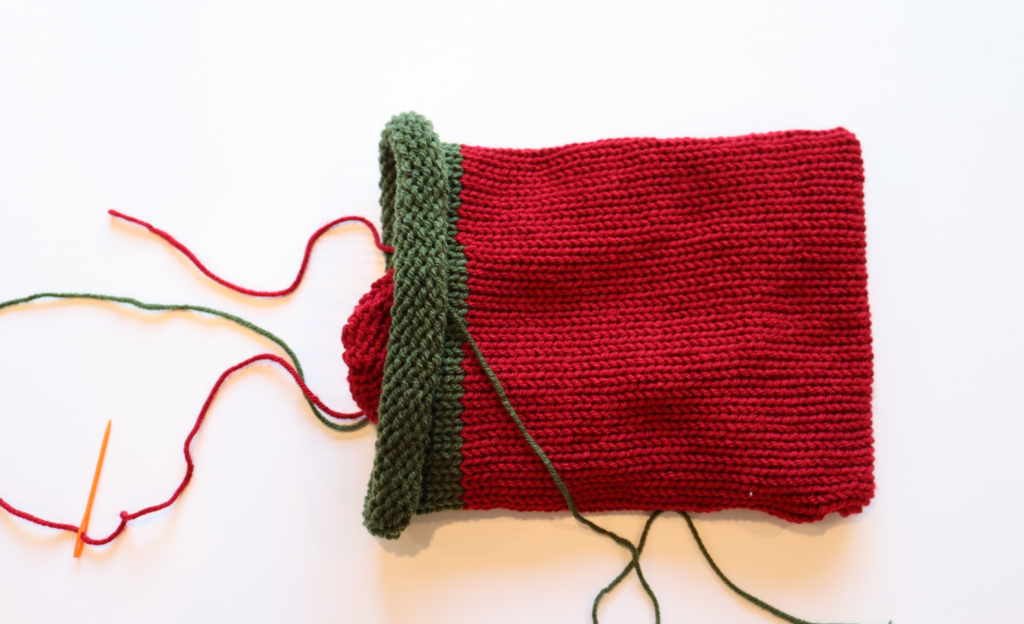
Now grab the base color’s yarn tail, the green yarn tail, cinch closed and tie a knot to close the top of your hat. Use the yarn needle to thread the yarn ends into the hat.

Lastly, roll up the brim and admire your work!!
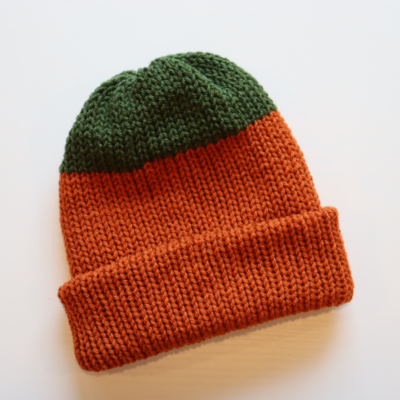
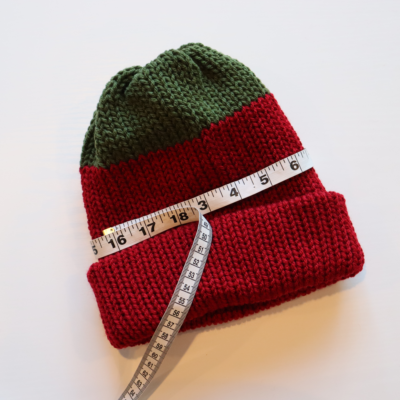
Your hat should measure roughly eight inches tall by 16 inches in circumference:
Step 7
Now, let’s top off the hat with a pom pom!

I chose the blue or medium-sized pom maker for this project:

Here’s a great video from Koala Knits and Knacks on how to make pom-poms. I like fuller pom-poms so I wrapped both ends fairly densely:
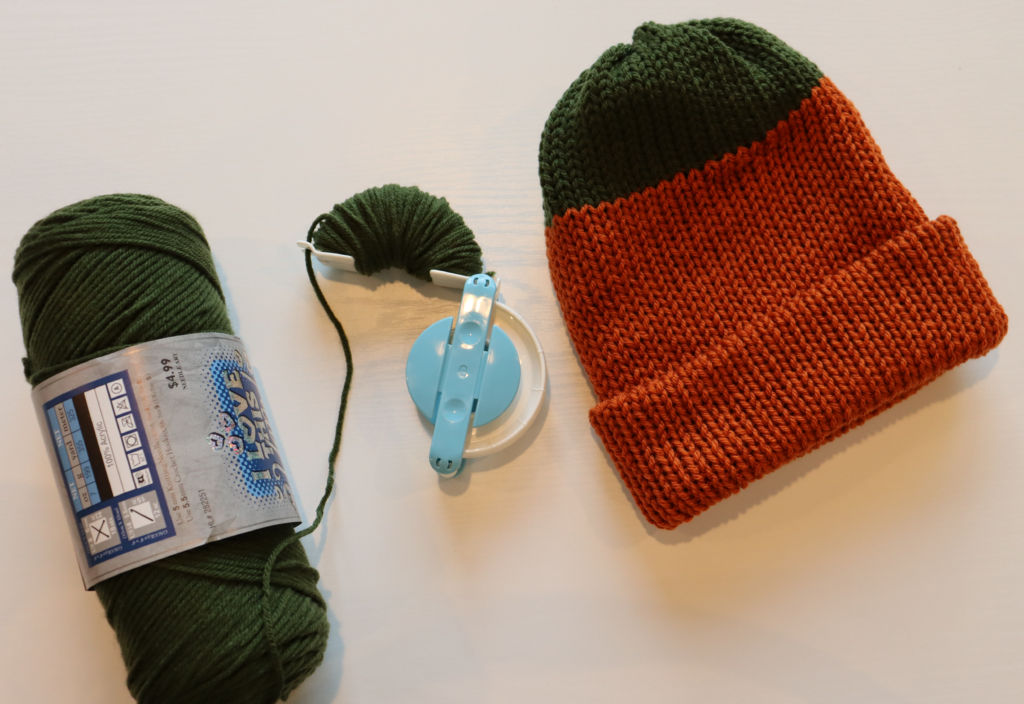
Following Shelly’s instructions, I took the ends of my pom poms, tucked them inside the hat, trimmed any stragglers, tied a bow and congratulations! You made a child-sized hat for a special little one! Based on typical child head sizes, this hat should comfortably fit a three to nine-year-old.
Here is a shorthand version of how to make the hat:
- Cast on base color on Sentro
- Turn handle (knit) with base color for 120 rows (be sure to turn tube/donut up at 48/84 rows)
- After completing 120 rows, change color to Dark Olive green color
- Turn handle (knit) for 18 rows
- Cast off
- Cinch one side of the tube, pull through to the other side and cinch both sides together forming the hat
- Add a pom pom
Studio 300 Orientation
Please remember: all patrons wanting to take full advantage of the equipment and spaces available in Studio 300 need to complete an orientation session. Patrons 17 and under must be accompanied by a parent/guardian. If you prefer to have a one-on-one to assist you in making your hat, I’m happy to help! After orientation is complete, please fill out a one-on-one request, and I’ll reach out via email to set up a time that is convenient for you.