Quite a few years ago, I learned about temperature blankets, and since then, I’ve always wanted to make one! “But what is a temperature blanket?” you may ask. Isn’t that just a heated blanket? “Ooh, sounds nice and warm! Gimme!”
Nope! So then what is a temperature blanket? The basic idea is that you knit or crochet a blanket one row at a time, and the color of each row represents the temperature every day for a year.
First, you have to pick a year—the current year, your birth year or any other year you’d like, whether it has meaning to you or not. Then, based on the temperatures of that year, you crochet or knit a blanket (or a scarf or a hat or whatever you like).
You also have to pick a location, because you need a single place to gather your temperature data! I chose where I live, but some other ideas are places you went on vacation, the town you were born in or maybe the hometown of the person you’re making the blanket for. And so on and so forth. Here’s where I get my daily historical temperatures. I used the average temperature for each day, but you can use the daily high or low if you want to. The key is to stay consistent, or you risk having to start over.
I know it sounds like this project has a lot of data to handle, but you can make a Google Sheet to keep track of all your information. I recommend mapping out all your data before stitching to make sure you’re using all the colors you planned. Otherwise, if you map as you go, you may find out too late that a certain color won’t be used depending on if a year didn’t get hot or cold enough. This ended up happening to me, and I didn’t get to use my favorite color in the blanket! This wasn’t the end of the world, of course, but I made the decision to start over and mapped ALL of my data beforehand!
Mapping data may sound hard, but it’s actually really easy using Microsoft Excel or even Google Sheets like I did in the example below.
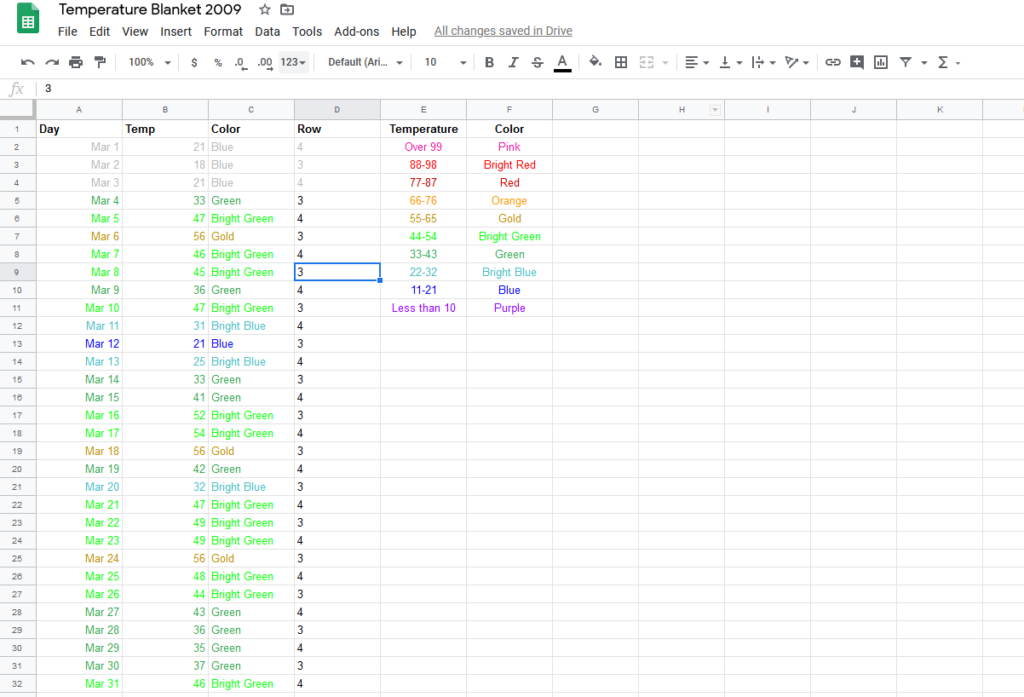
In my Google sheet, I made columns for the day, temperature, color and what row I’m on in my pattern (my pattern repeats the 3rd and 4th row over and over). I have my temperature guide right there as well! I made a sheet for each month, so it wasn’t too overwhelming to look at all at once.
For the blanket (or scarf, or hat, etc…) itself, one or two rows represent each day, and the temperature of that day determines the color of those rows. You pick your colors (they can be a rainbow, monochromatic or ALL OVER THE PLACE BECAUSE WHY NOT BECAUSE THIS IS YOUR BLANKET), then make your temperature chart, so you know what color to make your rows.
Below is an example!
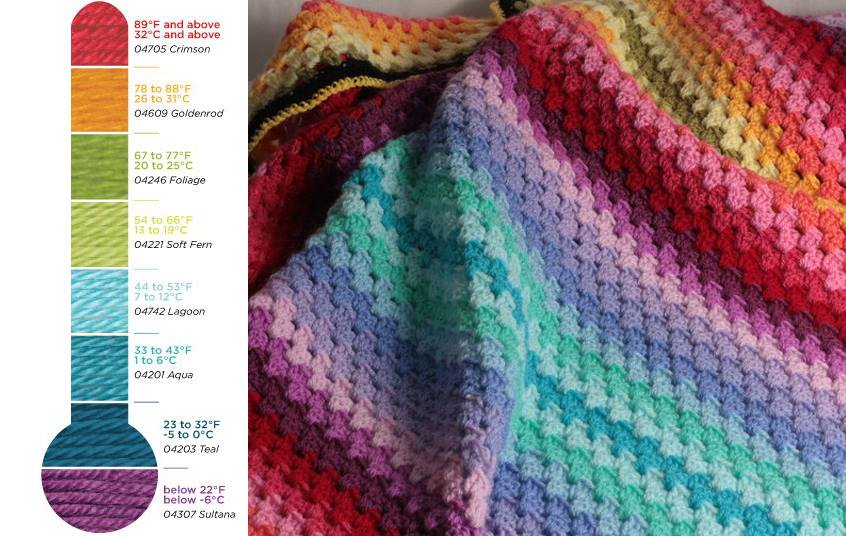
An image that was going around Facebook for a while. Not sure of the original owner.
And can you guess what happened? After years of swooning over the idea but never having the time… I’M FINALLY MAKING ONE. I chose the year my husband and I first met: 2009.
While I’m normally a knitter, I really liked the idea of making this an heirloom blanket I can pass down and have passed down even further throughout generations, so I decided to crochet it instead. Something about the granny stripe pattern of crochet (pictured in the example above), screams heirloom blanket to me. I was initially going to crochet granny squares because they’re so fun and easy to stitch, but the idea of putting them all together in one blanket is really intimidating for me! So granny stripe, it is! I get that heirloom feel, with none of the anxiety that comes along with putting together a zillion and five pieces.
If you want to do granny stripes too, follow this pattern to make your own!
Now that I’m finally making it, do I have any regrets starting it? NOT AT ALL. It’s so much fun, you guys. It’s only been a little over a week as of writing this, and I’m already stitching March!
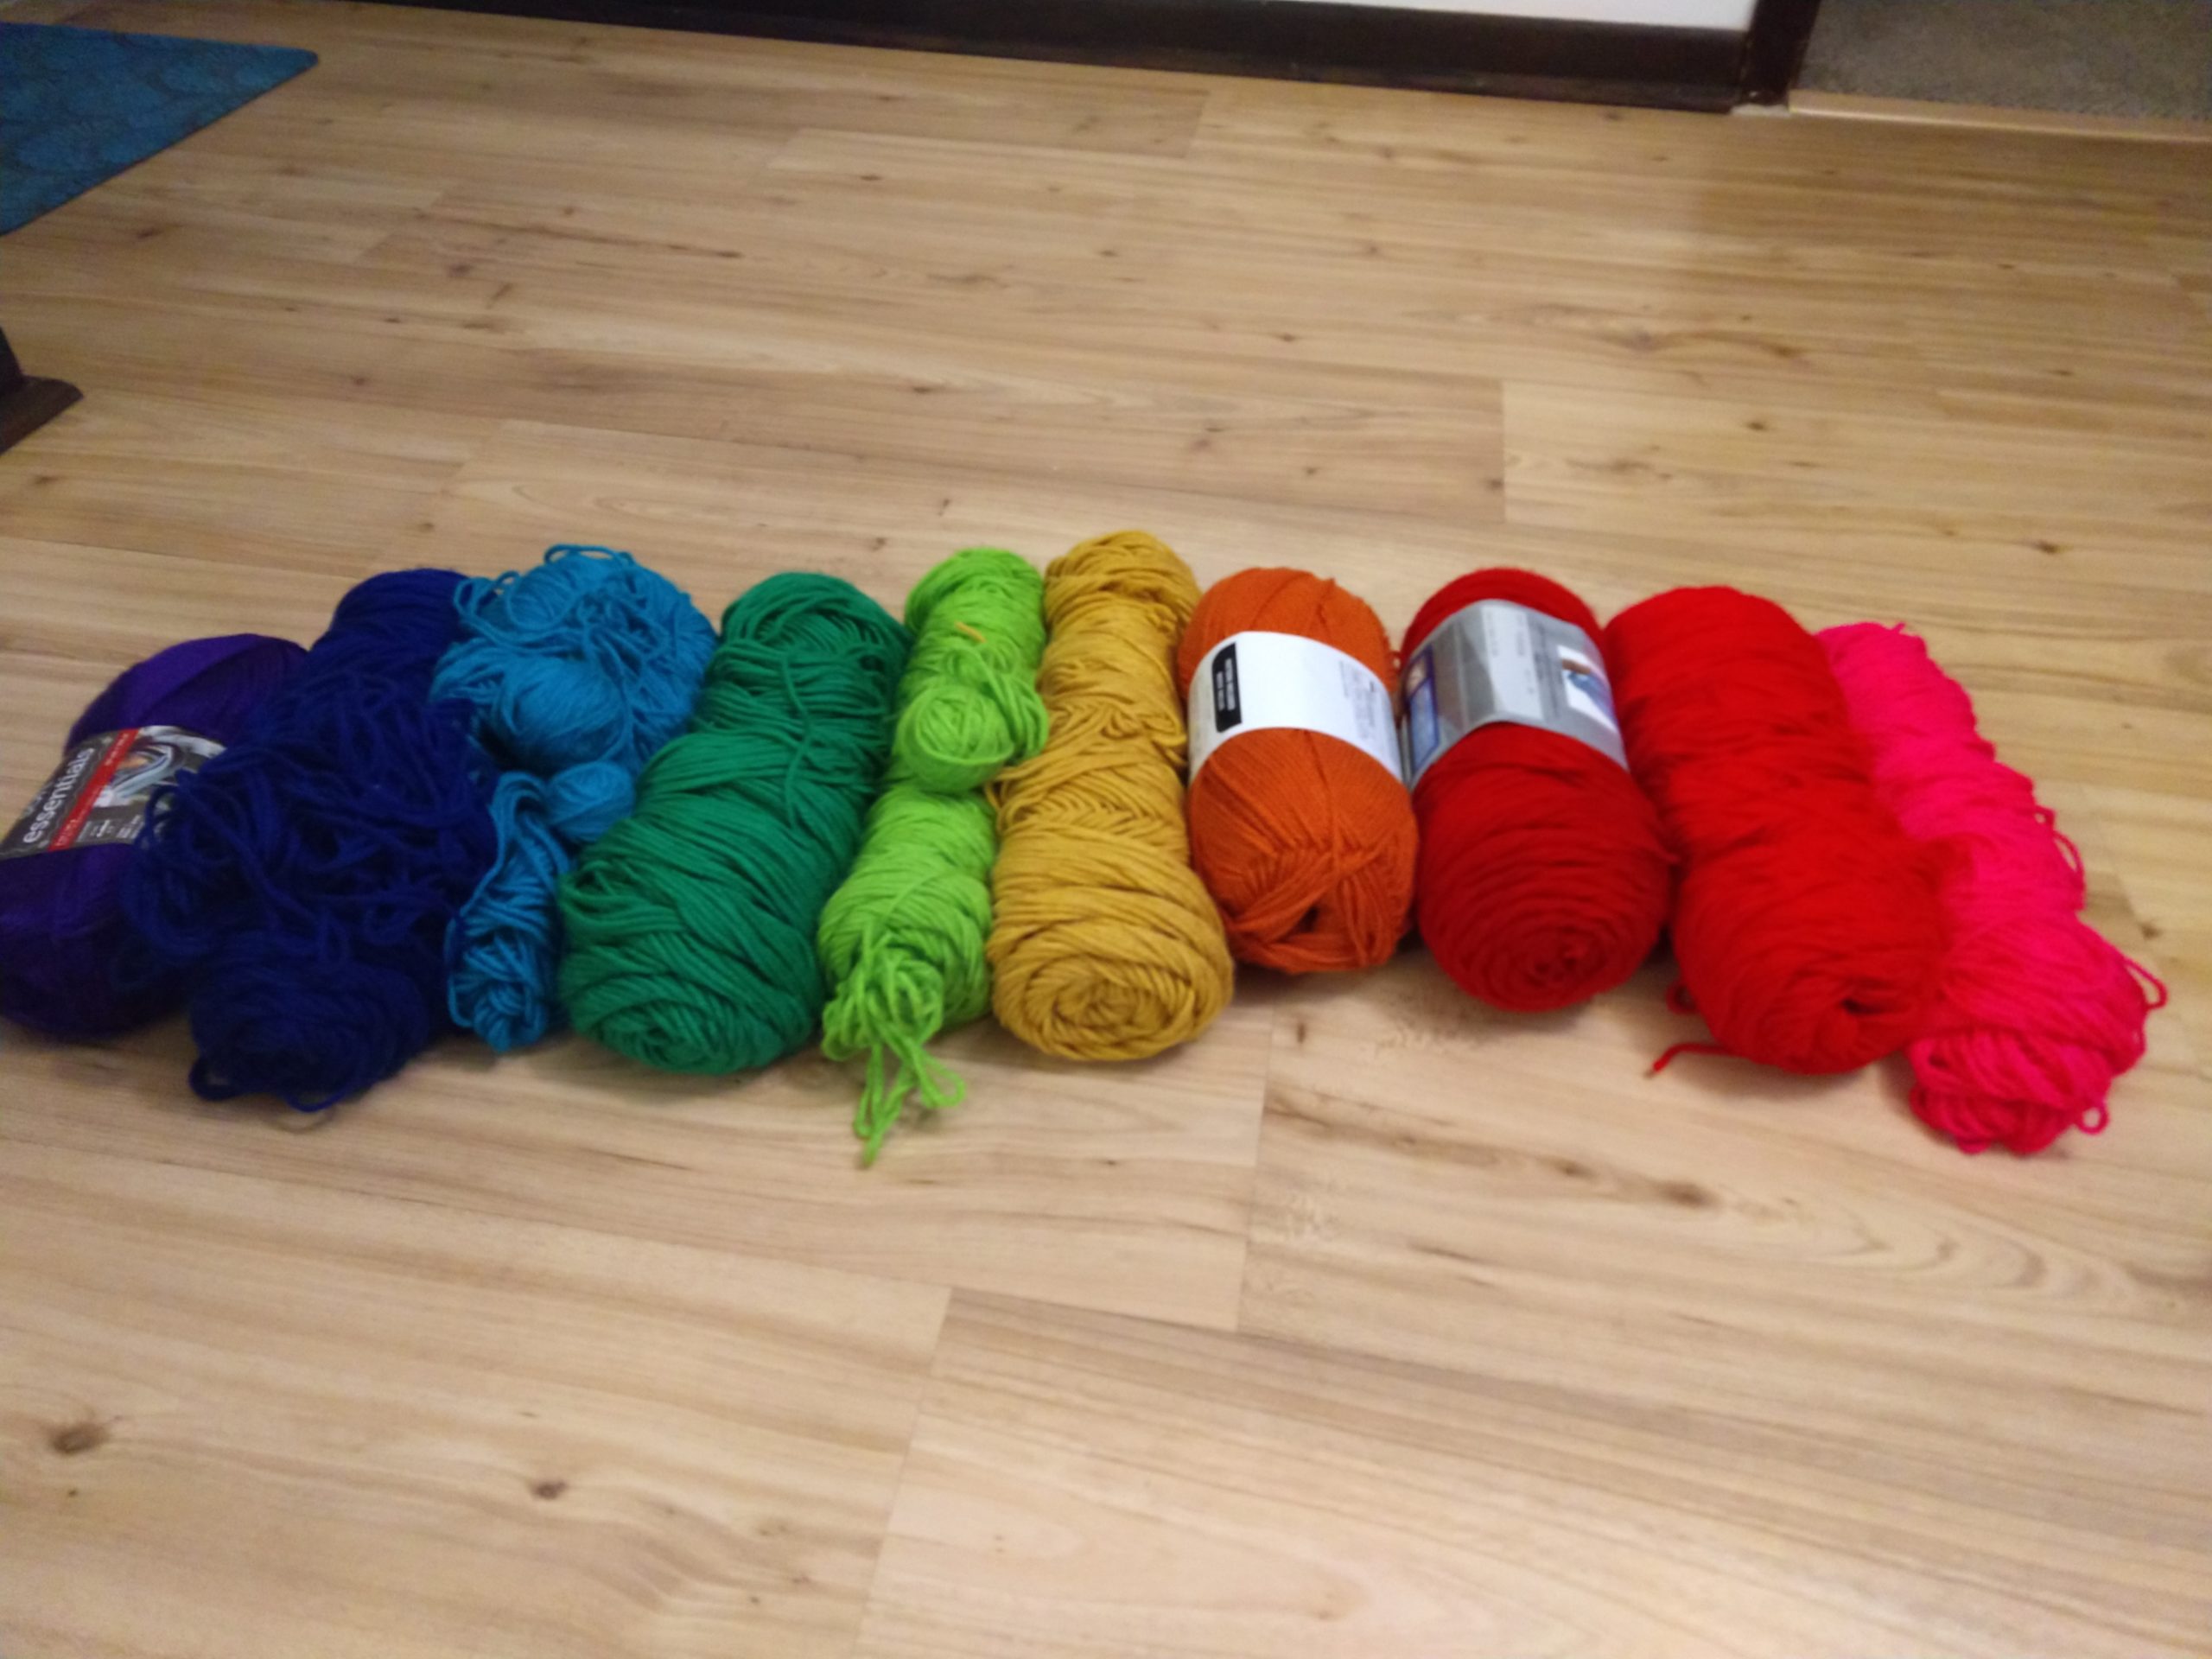
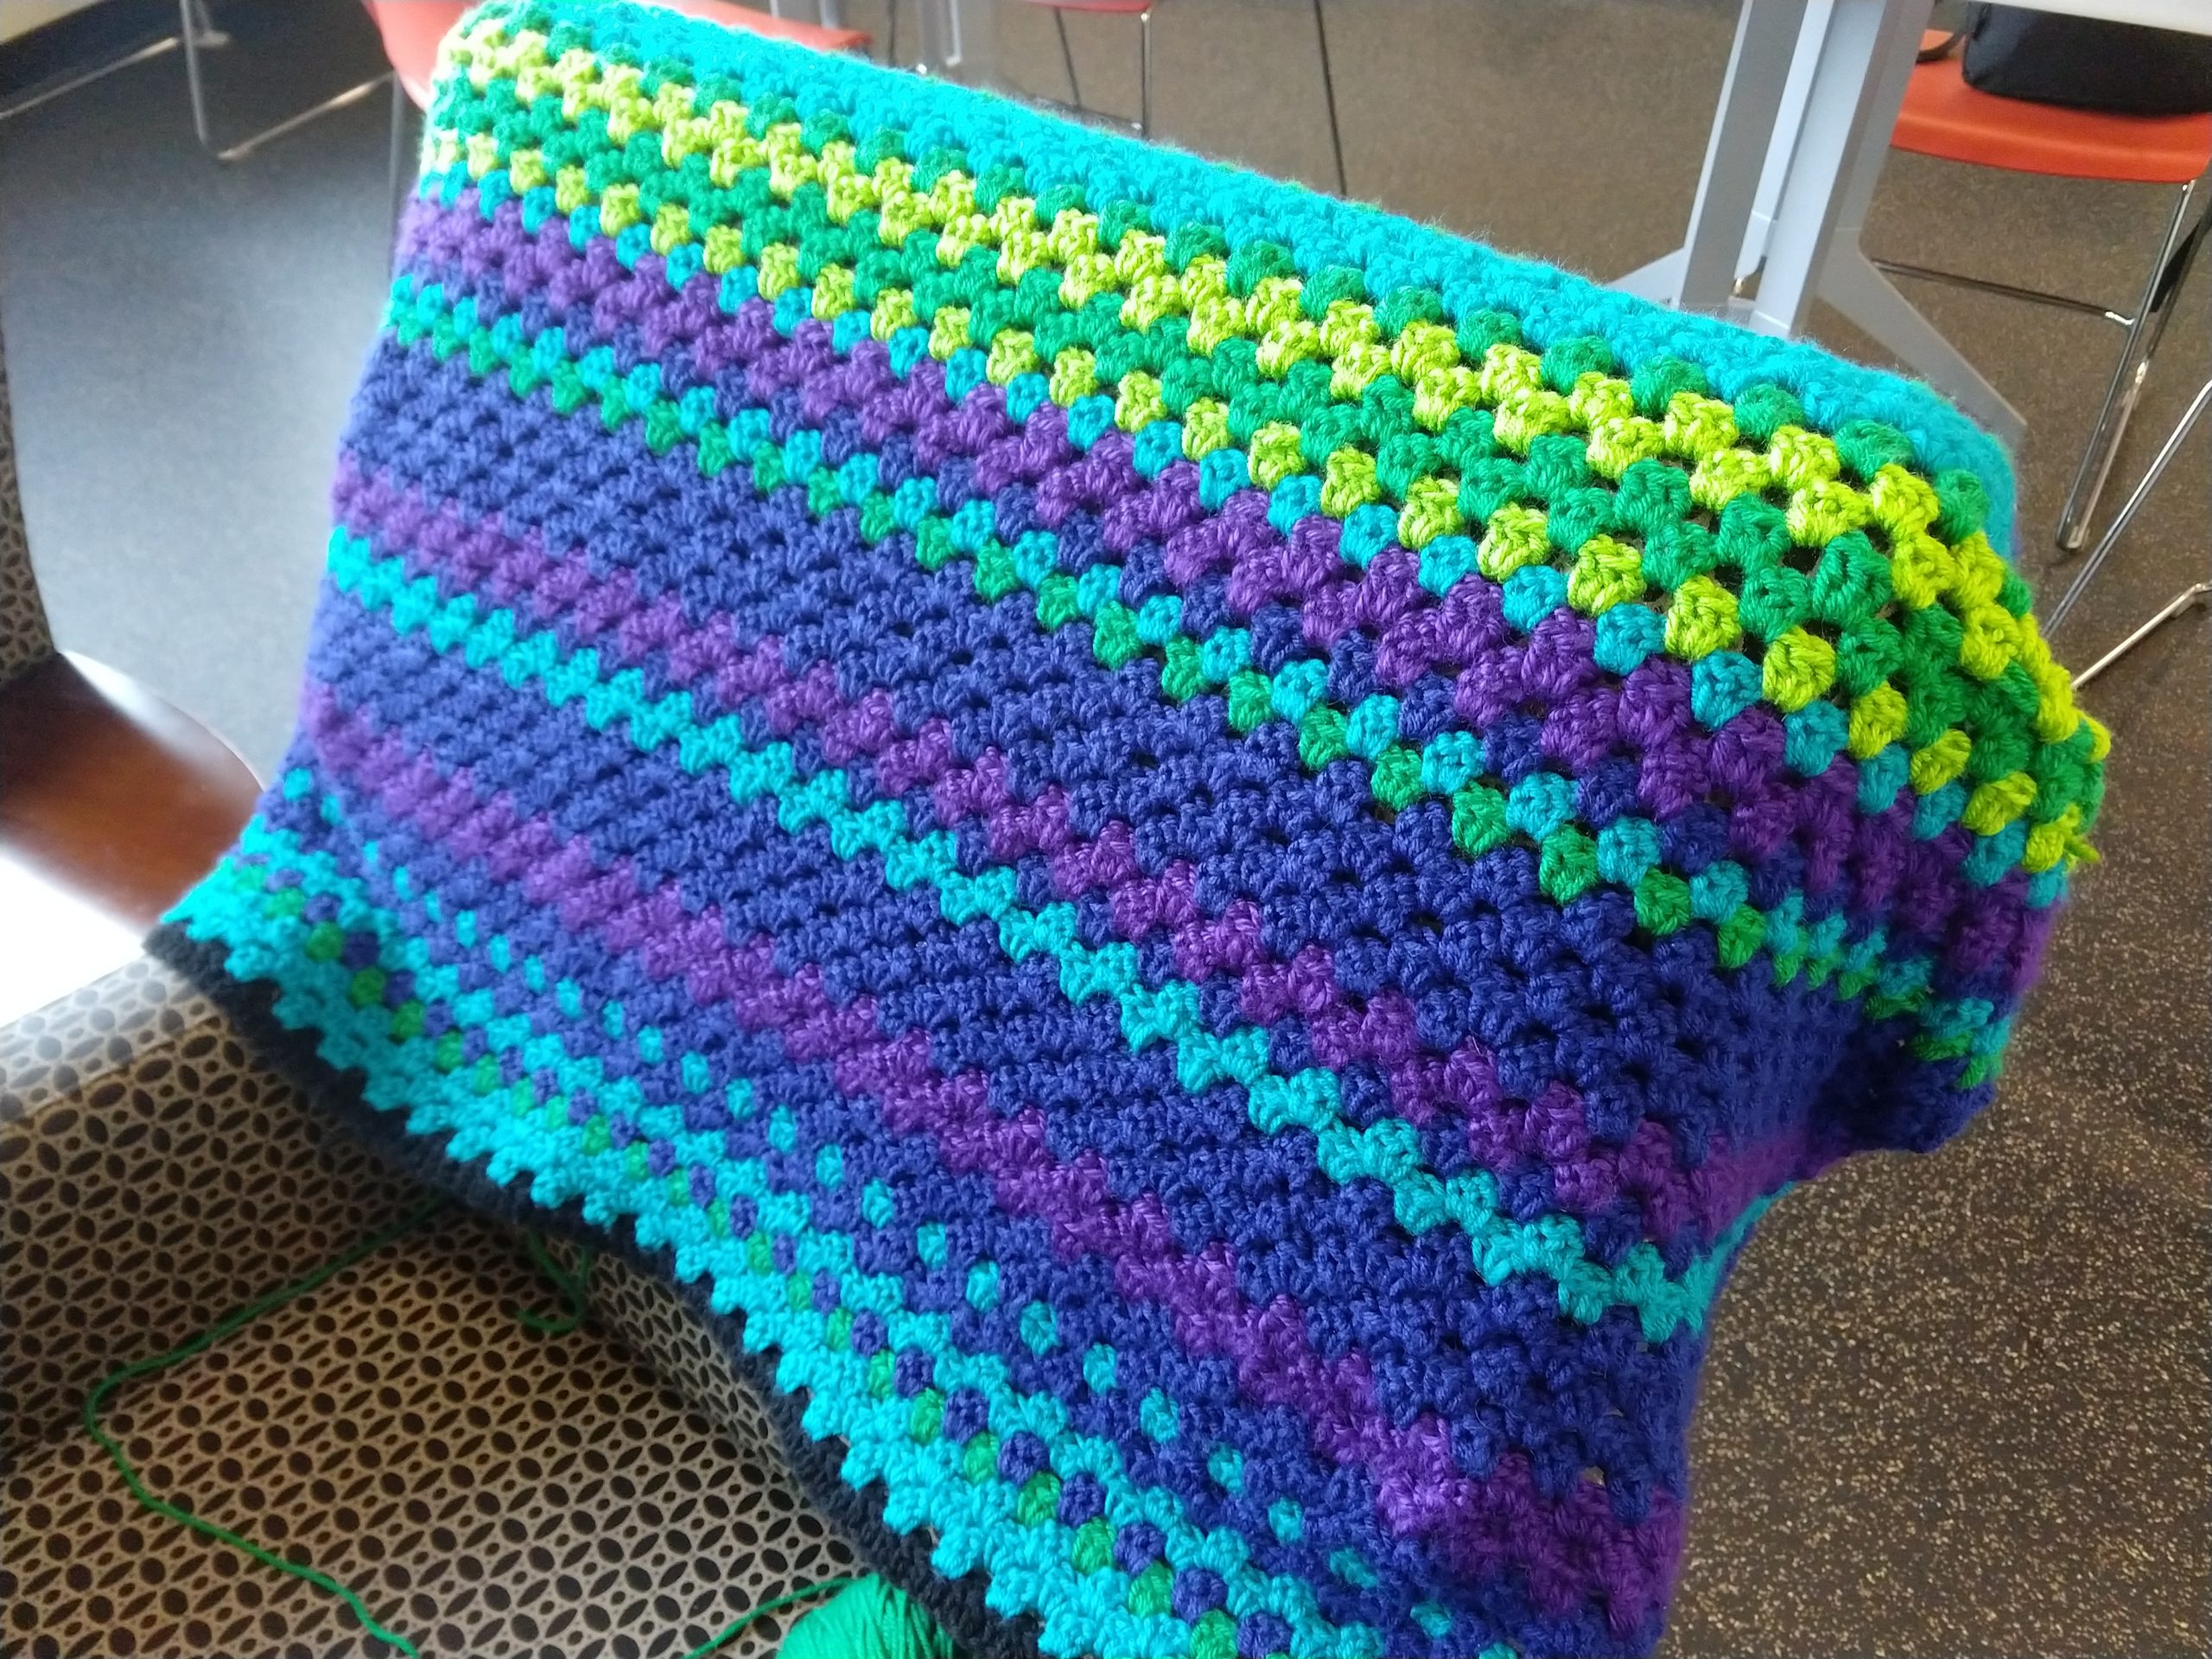
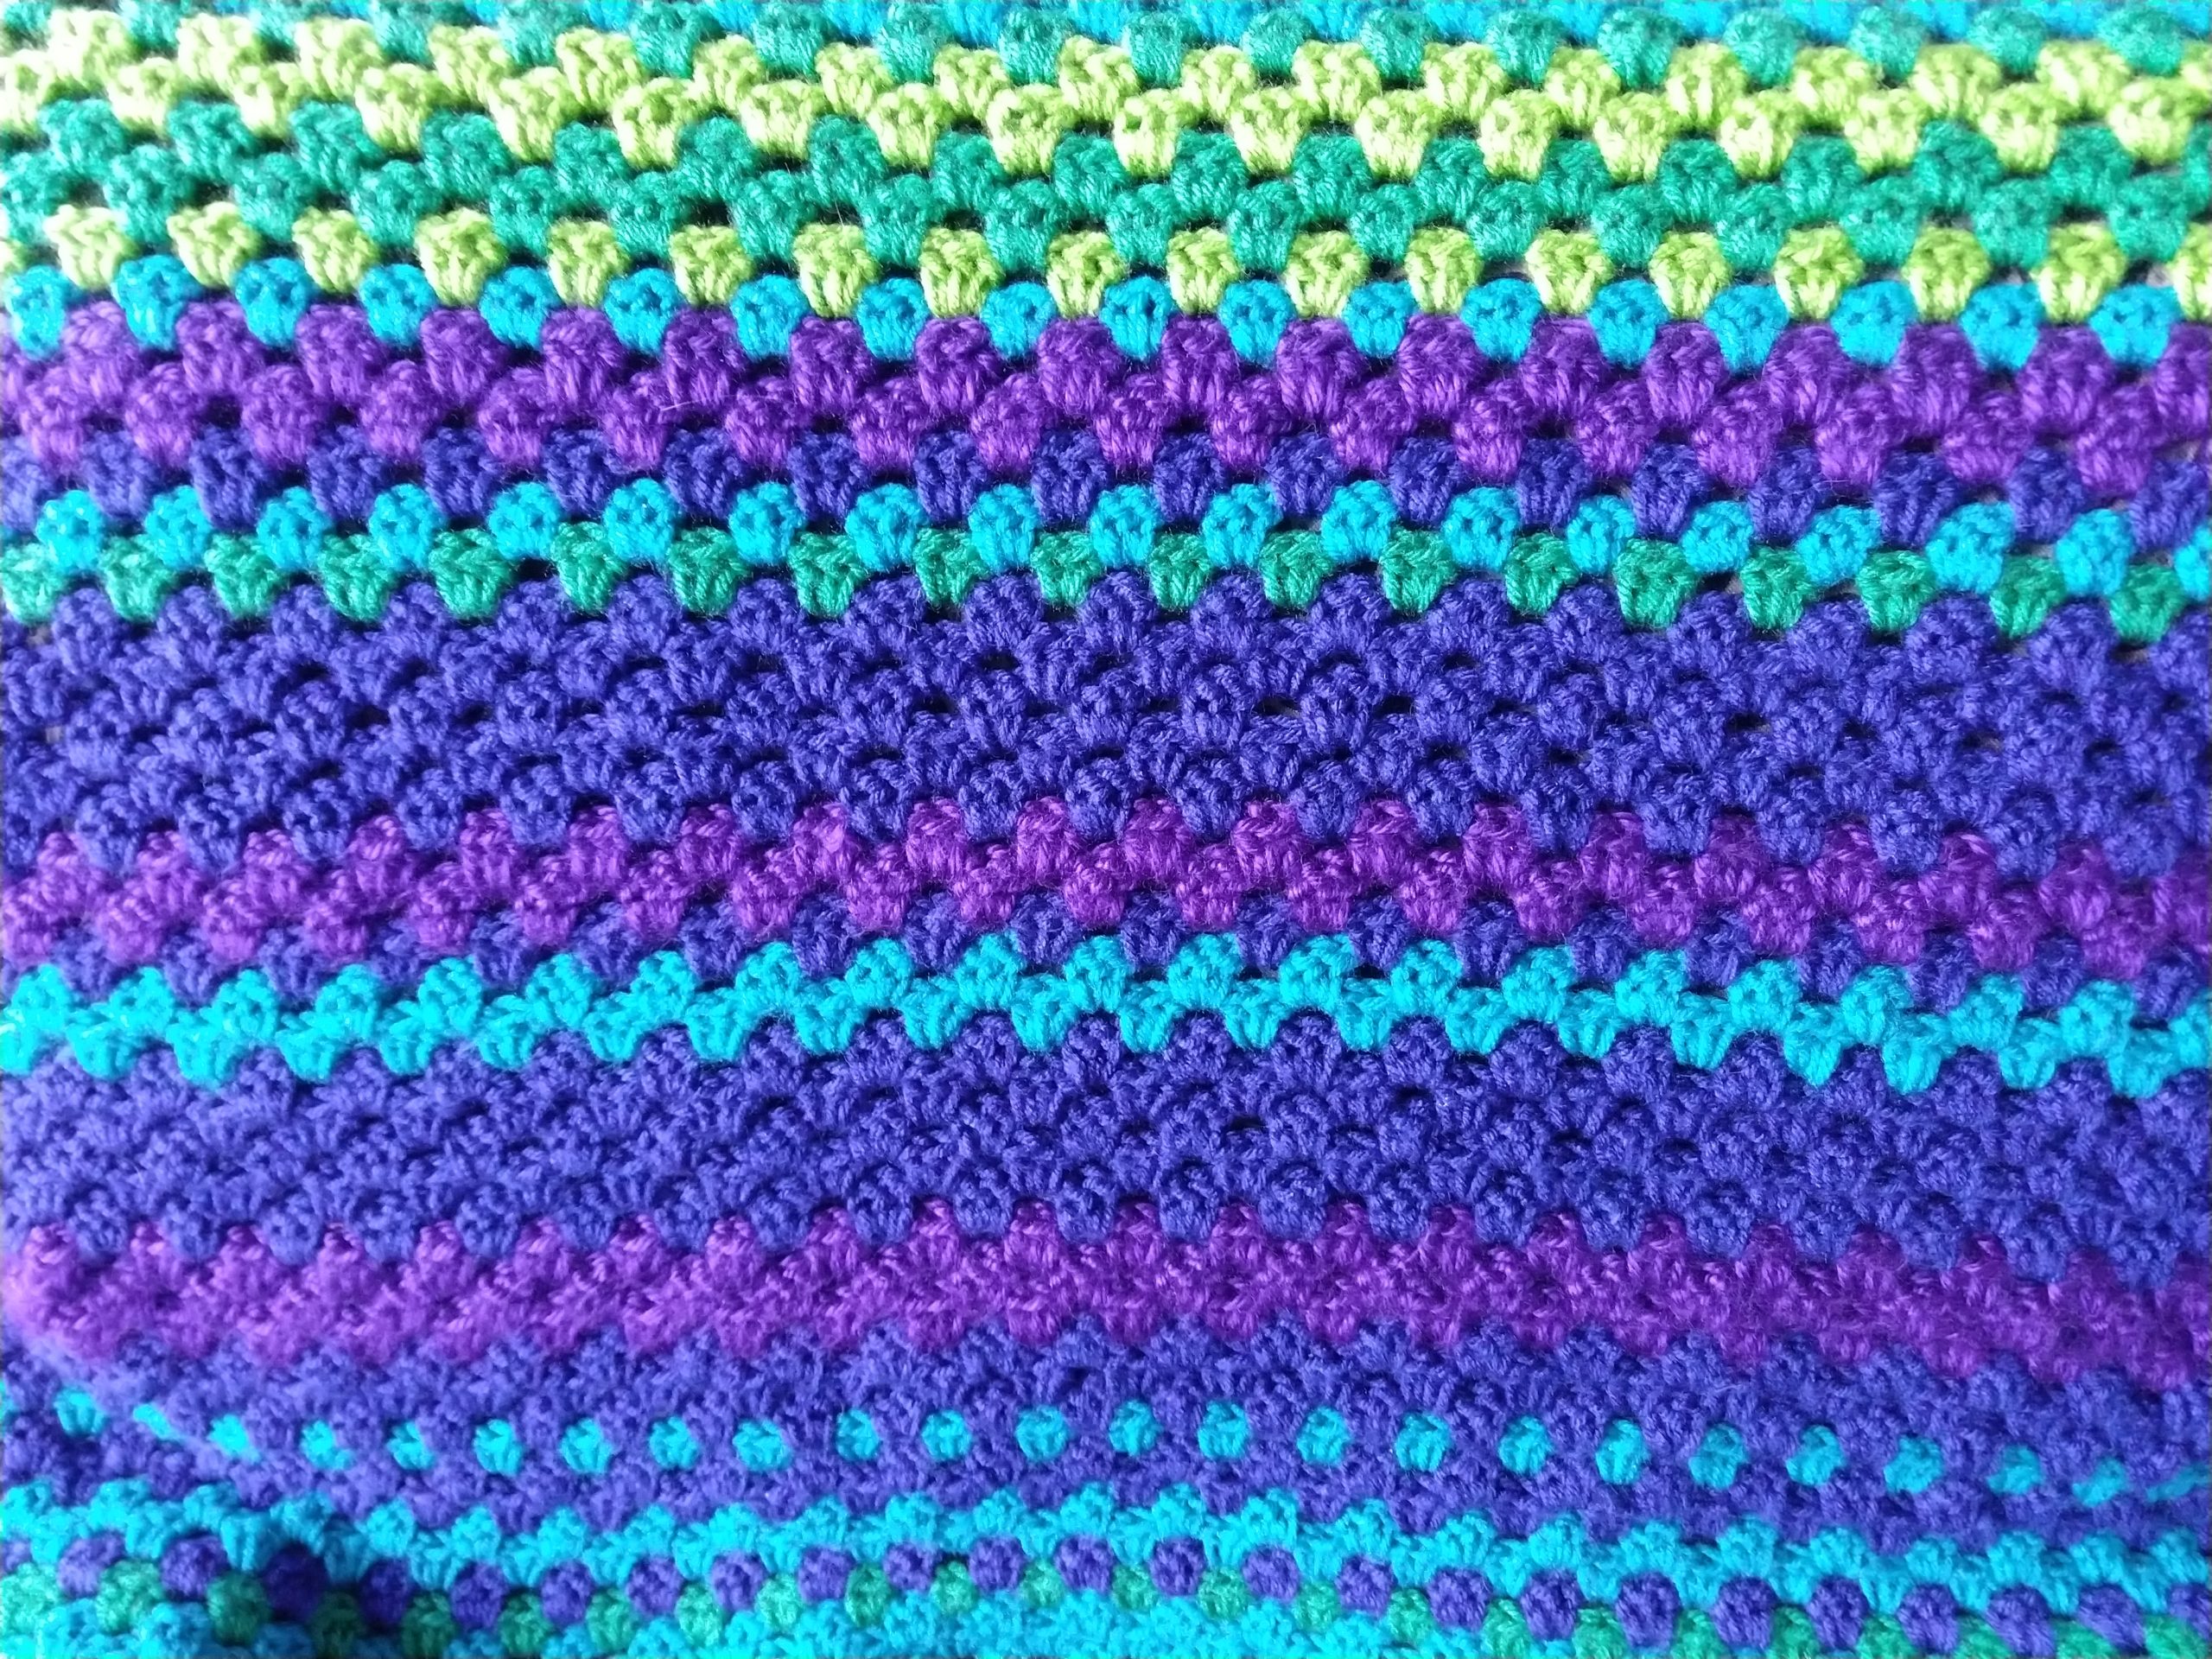
Below are some photos of my progress and the colors I went with. This is a great stash-busting project, too, so maybe go with colors you already have (like I did) and see if you can come up with a cool combination!
